


My newest hunting bow, And build along.
 07-11-2008, 10:01 AM
#1
Dominant Buck
Thread Starter
Join Date: Feb 2003
Location: land of the Lilliputians, In the state of insanity
Posts: 26,274
Isnt she pertty. I cant wait to see how she shoots.
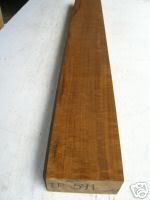
I know I said I was going to put down the all wood bows and make some fast glass lam bows, but you cant blame me for wanting to wittle out a nice ipe bamboo bow. Besides, I cant seem to talk Russ into sending me some free lams.
Ill be shooting for 69" ntn, 60+# @ 30". I cant pass up a nice piece of ipe.
 07-11-2008, 10:08 AM
#2
Dominant Buck
Thread Starter
Join Date: Feb 2003
Location: land of the Lilliputians, In the state of insanity
Posts: 26,274
Heres the boo for the backing.
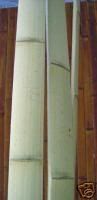
Im about to head out to the shop to cut out the stave and floor tiller, as well as grind the boo flat. I think im going to put in about 1.5" reflex. Dont think ill need any deflex. Boo backed ipe shoots so well with out it, i feel no need to deflex it. I still migh put ina bit, just to make it look sexy.
Im about to head out to the shop to cut out the stave and floor tiller, as well as grind the boo flat. I think im going to put in about 1.5" reflex. Dont think ill need any deflex. Boo backed ipe shoots so well with out it, i feel no need to deflex it. I still migh put ina bit, just to make it look sexy.
07-11-2008, 10:11 AM
#3
Giant Nontypical
Join Date: Feb 2003
Location: Burleson TX USA
Posts: 6,455
Kent.
Mate it should look sweeeeet.
Ithink you need to do a build along thread for this bow
I will be doing a build along when I get the rest of the material for Gregs bow.
Mate it should look sweeeeet.
Ithink you need to do a build along thread for this bow
I will be doing a build along when I get the rest of the material for Gregs bow.
 07-11-2008, 11:41 AM
#7
Giant Nontypical
Join Date: Sep 2007
Location: Central Minnesota
Posts: 9,445
I wish I was a picture on your wall while your doing this. I would like to try this once again. I made a handle and riser and it never made it any farther then that. Patience is a big thing in this stuff. I didn't have it at the time I guess!![8D]
Good luck with it Burnie!! I'm sure it will turn out great.
Good luck with it Burnie!! I'm sure it will turn out great.
07-11-2008, 03:48 PM
#8
Dominant Buck
Thread Starter
Join Date: Feb 2003
Location: land of the Lilliputians, In the state of insanity
Posts: 26,274
All right. I decieded to take some pics and show my progress and explain what im doing.
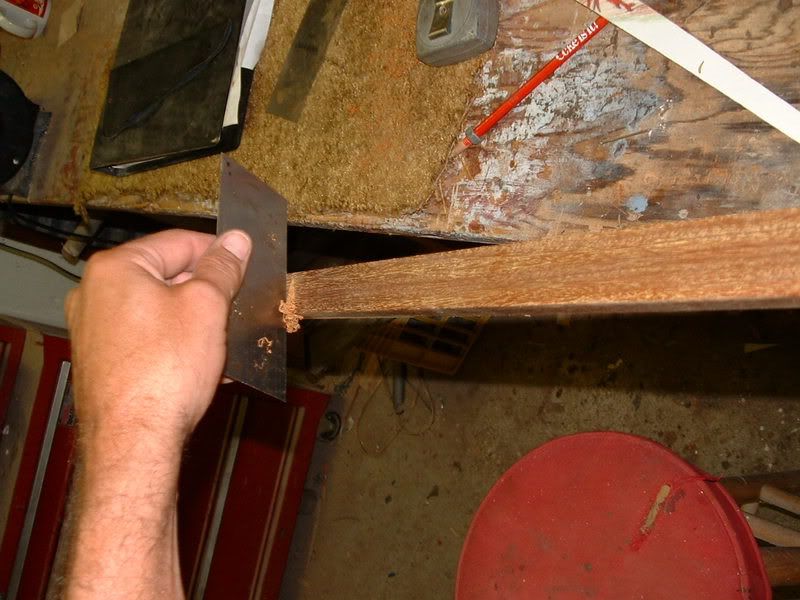
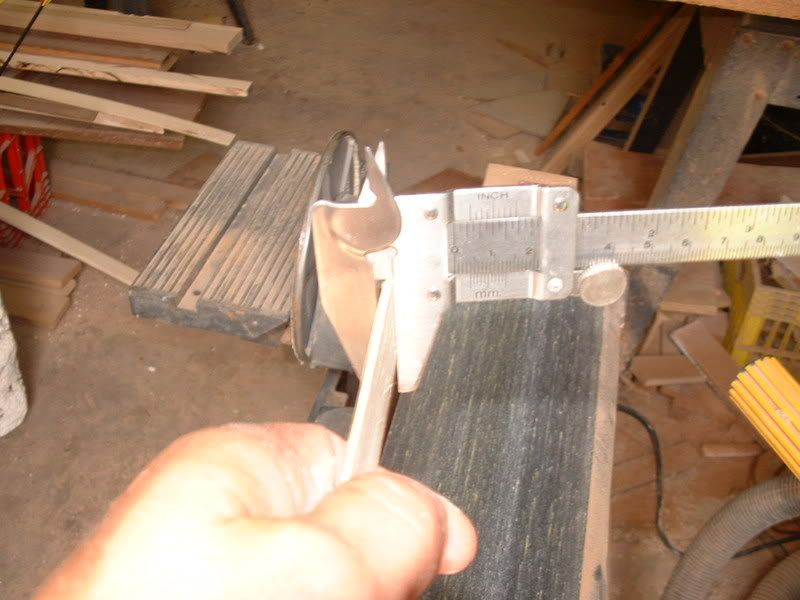
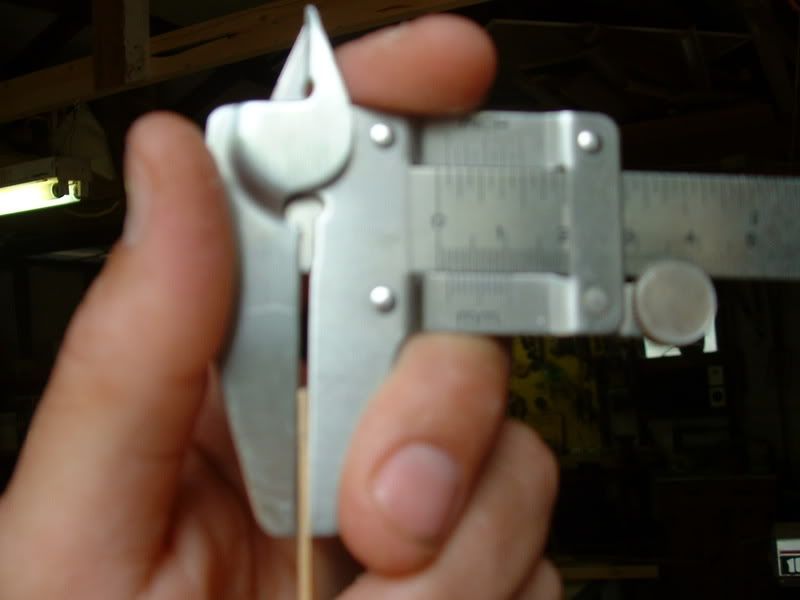
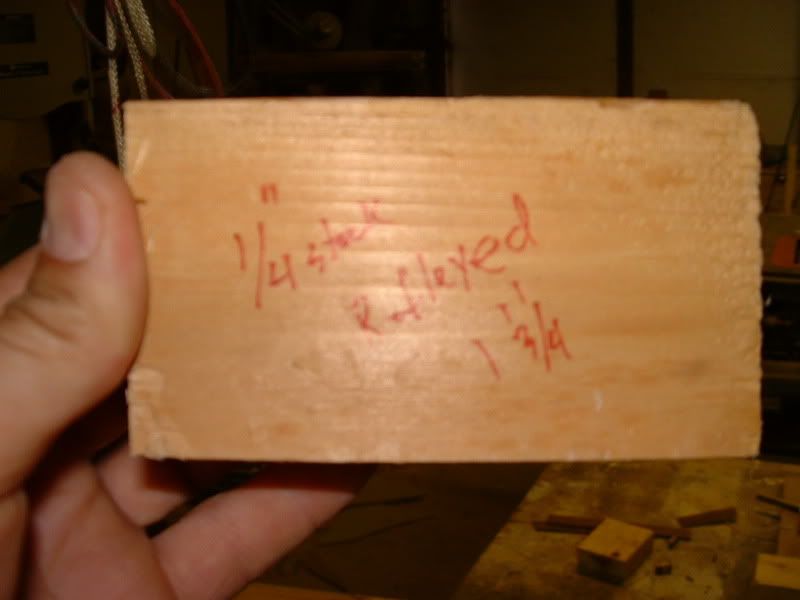
I did not take any pics of the layout. I had yet to decide to do so, so ill just have to explain. First I ripped the billet into a 1 1/4" by 3/4" by 71". After ripping the board, Iuncovered a larva hole. Darn little bugger. It went in an angle to a depth of 3/4". I could not keep my original 71" design because that would put this hole in the working part of the limb. I wanted the hole to be as far in the fade as I could get it, so it bears no real load. So I cut an extra inch off the opposite end so the hole falls in the middle of my fade. Ill deal with this hole just before glue up. Here is a pick of the hole with a finish nail stuck in it.
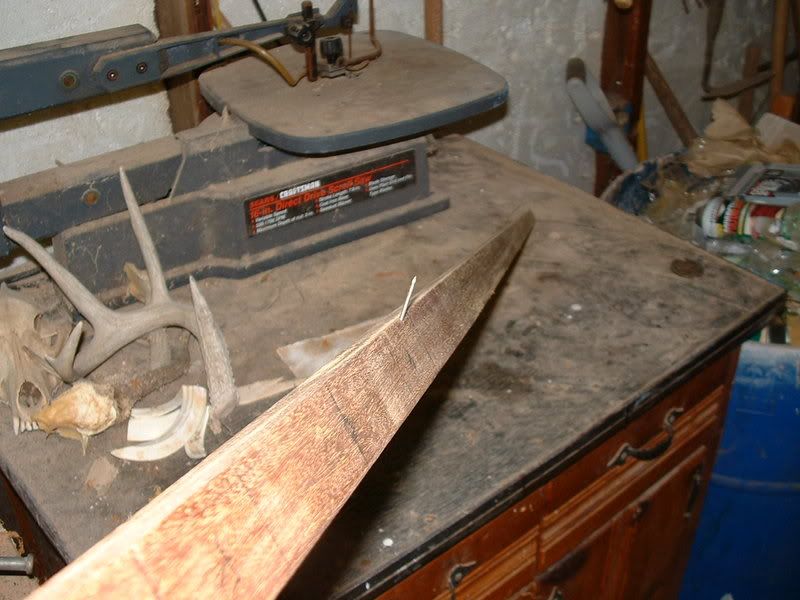
And another pic to show how deep the hole is. Its hard to see, but its about 1/8" in diameter and about 3/4" deep.Im holding the nail where it met the board.

I dont think the hole will pose a problem after I adjusted my design a bit and after I fill it later. Now time to pick my back and belly. I chose the back according to natural reflex. It didnt have much, but just a little. Then I marked the handle. Three inches either side of mid. line, giving me a 6" handle. From there, I marked off two more inches on either side to be my fades.
I now layed my billet on its side and marked my limb tapers. Which on this board I went from 3/4" at the fades to 1/2" at the tips. I did this for both limbs and went to the band saw to cut them out. I cut them out a tad heavy and used my belt sander to smooth them out, still leaving them a bit heavy. I want them thick because of the weight im shooting for. I can always cut more off, but can never grow it back.
Now I layed my billet on its back and marked my limbs off. I marked me a new line 4" from my fades. Also, I marked mid line on my tips and measured 1/4" either side of the midline so I would have 1/2" tips. Ill reduce them later, but will leave them thick for now. I now drew a straight line connecting the tips to the line I marked 4" from the fade, so my limbs will be 1 1/4" from fade to the 4" line and taper to 1/2" . I used the band saw to cut them out and the belt sander to even them up. Agian leaving them a tad heavy.
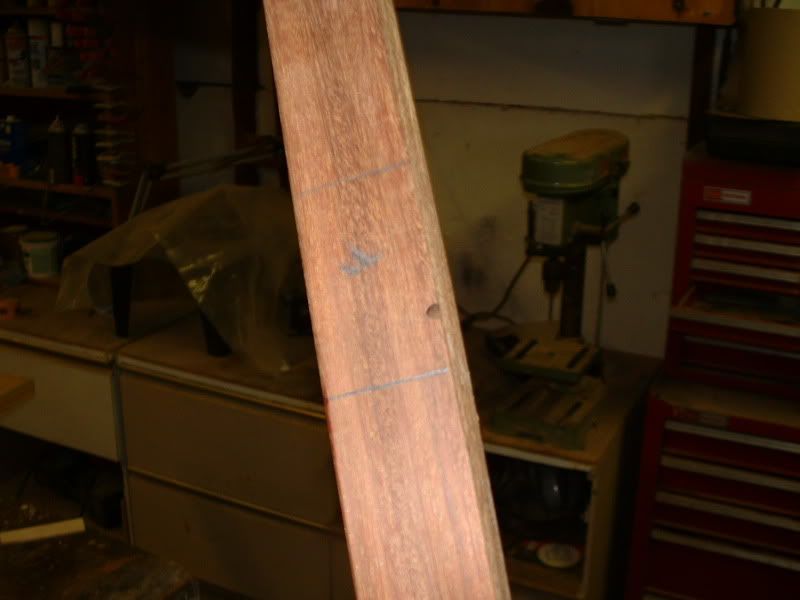
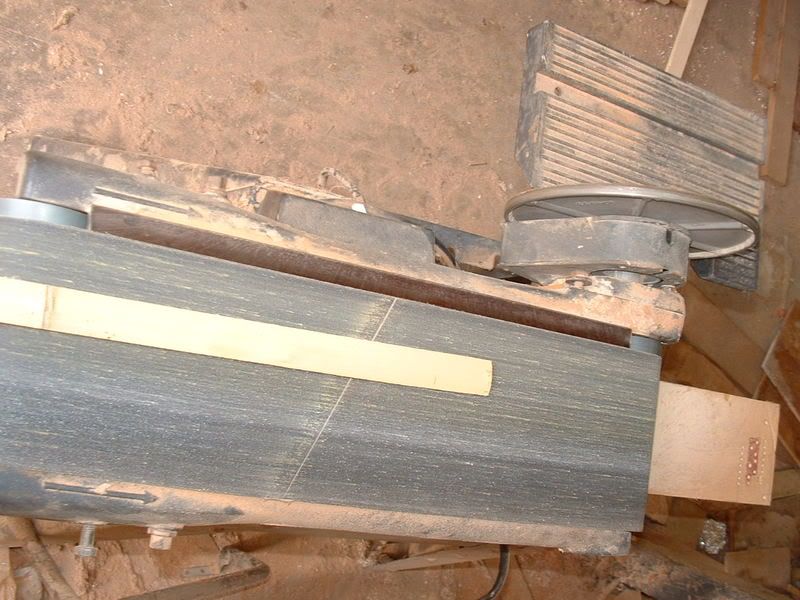
Here is the billet as a stave now.
Tips
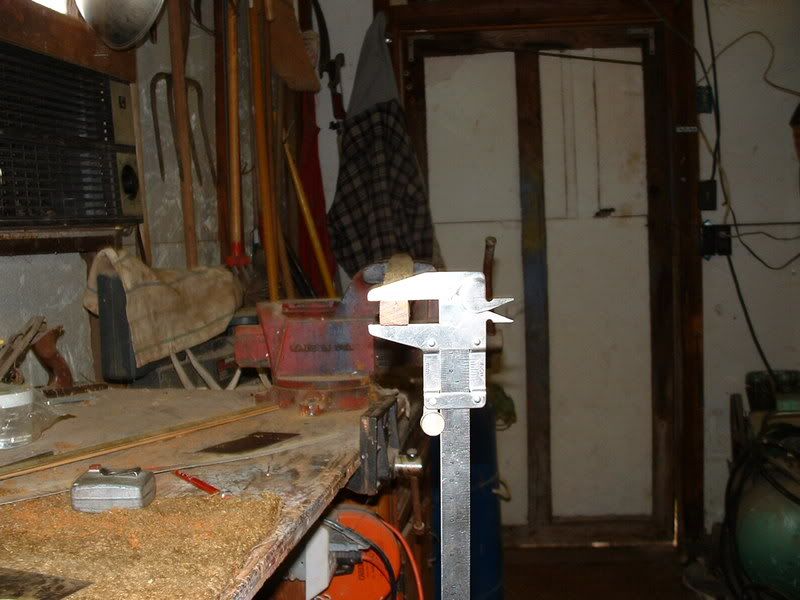

Fades on out.
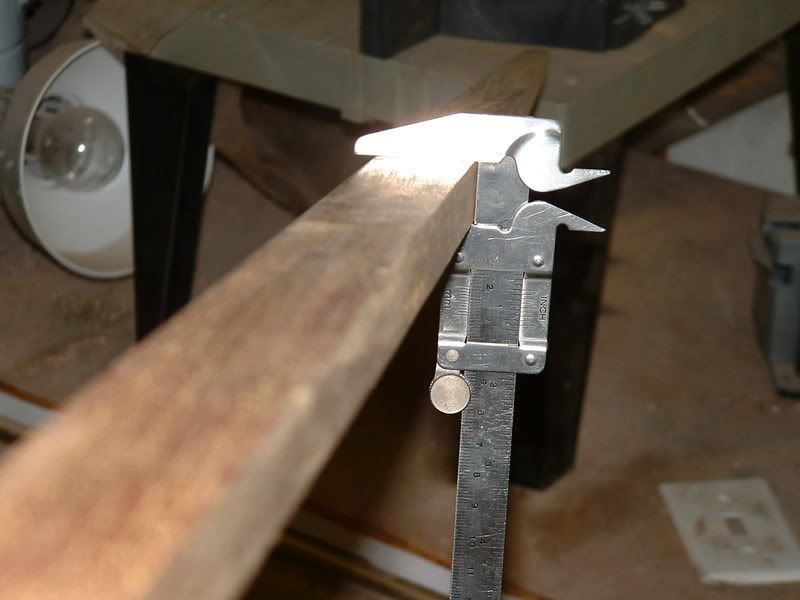
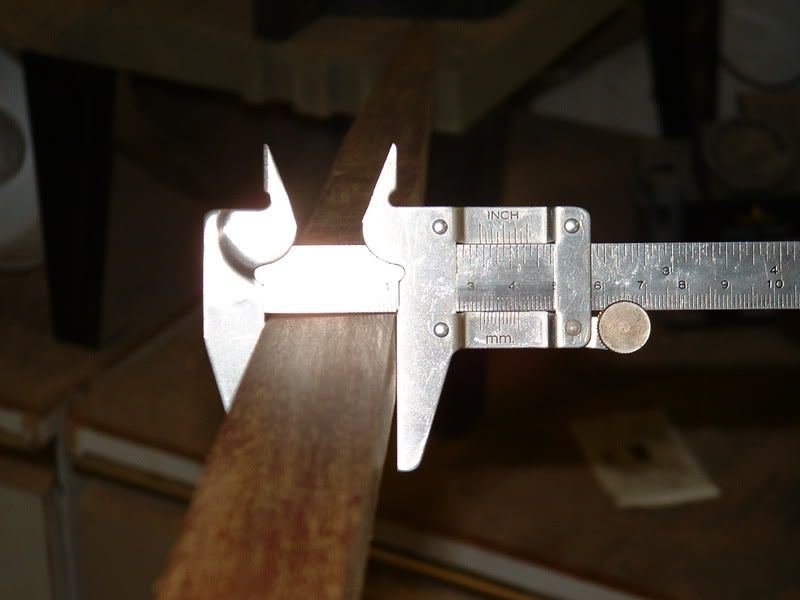
Crap, Sorry you cant read the calipers very well. I was trying to show how I left everything a bit heavy.
I did not take any pics of the layout. I had yet to decide to do so, so ill just have to explain. First I ripped the billet into a 1 1/4" by 3/4" by 71". After ripping the board, Iuncovered a larva hole. Darn little bugger. It went in an angle to a depth of 3/4". I could not keep my original 71" design because that would put this hole in the working part of the limb. I wanted the hole to be as far in the fade as I could get it, so it bears no real load. So I cut an extra inch off the opposite end so the hole falls in the middle of my fade. Ill deal with this hole just before glue up. Here is a pick of the hole with a finish nail stuck in it.
And another pic to show how deep the hole is. Its hard to see, but its about 1/8" in diameter and about 3/4" deep.Im holding the nail where it met the board.
I dont think the hole will pose a problem after I adjusted my design a bit and after I fill it later. Now time to pick my back and belly. I chose the back according to natural reflex. It didnt have much, but just a little. Then I marked the handle. Three inches either side of mid. line, giving me a 6" handle. From there, I marked off two more inches on either side to be my fades.
I now layed my billet on its side and marked my limb tapers. Which on this board I went from 3/4" at the fades to 1/2" at the tips. I did this for both limbs and went to the band saw to cut them out. I cut them out a tad heavy and used my belt sander to smooth them out, still leaving them a bit heavy. I want them thick because of the weight im shooting for. I can always cut more off, but can never grow it back.
Now I layed my billet on its back and marked my limbs off. I marked me a new line 4" from my fades. Also, I marked mid line on my tips and measured 1/4" either side of the midline so I would have 1/2" tips. Ill reduce them later, but will leave them thick for now. I now drew a straight line connecting the tips to the line I marked 4" from the fade, so my limbs will be 1 1/4" from fade to the 4" line and taper to 1/2" . I used the band saw to cut them out and the belt sander to even them up. Agian leaving them a tad heavy.
Here is the billet as a stave now.
Tips
Fades on out.
Crap, Sorry you cant read the calipers very well. I was trying to show how I left everything a bit heavy.
07-11-2008, 04:00 PM
#9
Dominant Buck
Thread Starter
Join Date: Feb 2003
Location: land of the Lilliputians, In the state of insanity
Posts: 26,274
Now to reduce the stave a bit and floor tiller it to where I can bend it to the relfex I want. I do this with card scrapers. You will kill yourself trying to sand Ipe. Its some hard stuff.
I keep reducing the limbs just enought to get them floor tillered and to where I can induce reflex. I dont want to take off much wood. Id rather it be overly thick than too light. Ill do the rest of the work on the limbs when I tiller.
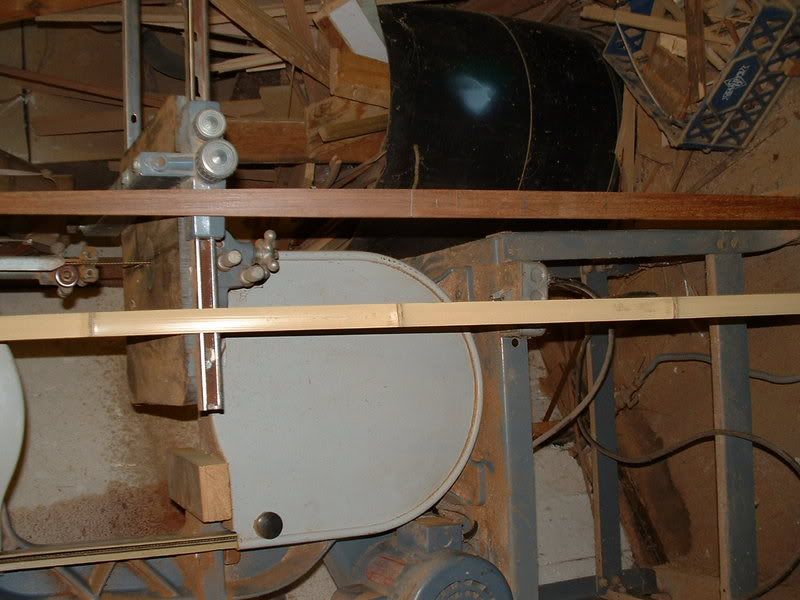
Now for the bamboo. Agian, I had already cut the bamboo close to size with my band saw and took no pics of the raw boo. From the band saw, I went to the belt sander and flatened the boo. Actually, i barrel tappered it.
Heavy 1/8 at midline
Down to 1/16" at tips.
I keep reducing the limbs just enought to get them floor tillered and to where I can induce reflex. I dont want to take off much wood. Id rather it be overly thick than too light. Ill do the rest of the work on the limbs when I tiller.
Now for the bamboo. Agian, I had already cut the bamboo close to size with my band saw and took no pics of the raw boo. From the band saw, I went to the belt sander and flatened the boo. Actually, i barrel tappered it.
Heavy 1/8 at midline
Down to 1/16" at tips.
07-11-2008, 04:17 PM
#10
Dominant Buck
Thread Starter
Join Date: Feb 2003
Location: land of the Lilliputians, In the state of insanity
Posts: 26,274
So now boo and stave are ready to glue. Whoops, forgot to rotate the pic. My bandsaw is not laying on the floor. lol.
Now to do a mock run before I glue up to make sure I can get the bend I want. Before I do so, I have to go make some blocks with the amount of reflex I want. So I take some old stock and measuer 2 1/2" and cut it out. This way, I can support the tips and get a 1 3/4" reflex. It will make more sense when you see the pic. the bowwood is already 3/4, so I had to go and extra 1 3/4"so I can get 1 3/4" reflex. I want so much reflexbecause after tillering, im hopeing to keep 1 1/2" of relfex.
Ill show the mock up so you can get an idea of what im doing with these blocks. I place these blocks 70" apart on a straight 2x4. I mark a midline on the 2x4 and place the bow, belly side down. I support the tips on these bocks of wood and clamp the bow down to the 2X4 at midline. I measured in 12" from the tips to put clamps to pull the rest of the limb closer to the 2x4. Here is the mock up.

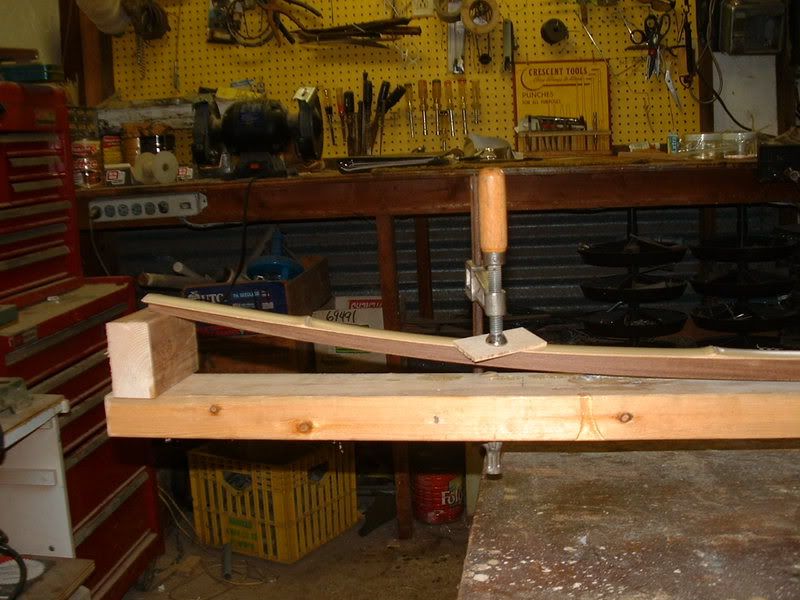
It looks good, so off to the glue up.
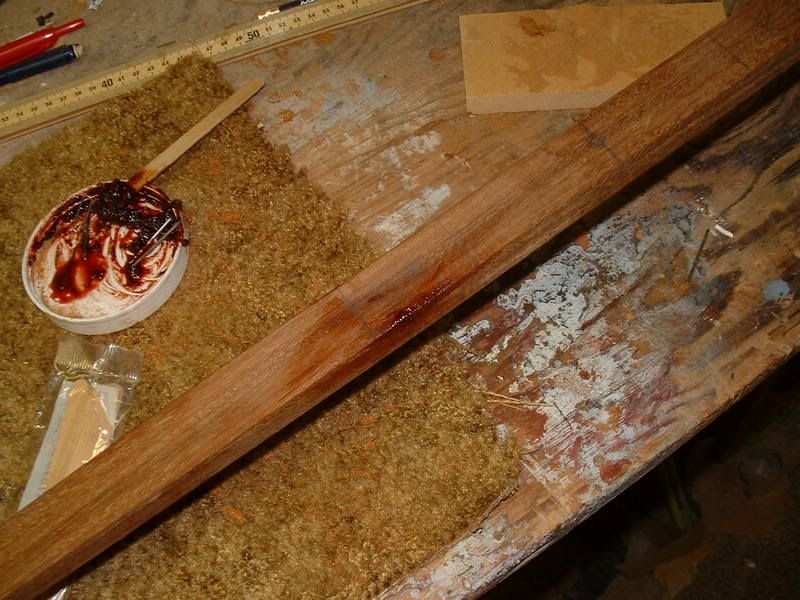
Before glueing up, I want to deal with that hole. To fix this, I can do several things. One being; drill it out and plug it with a wooden plug. Or I can mix up some epoxy and thickener and fill it in. Im going to go with the epoxy trick. I took bow grip 100 (which will work great because im going to bake this bow) and mix in saw dust from the stave that I collected from the belt sander, as well with some small curls from the scraper.
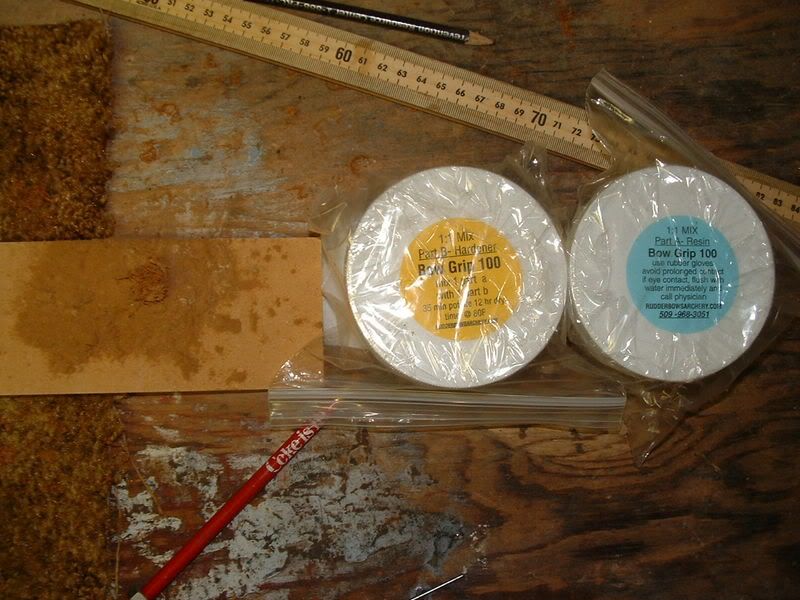
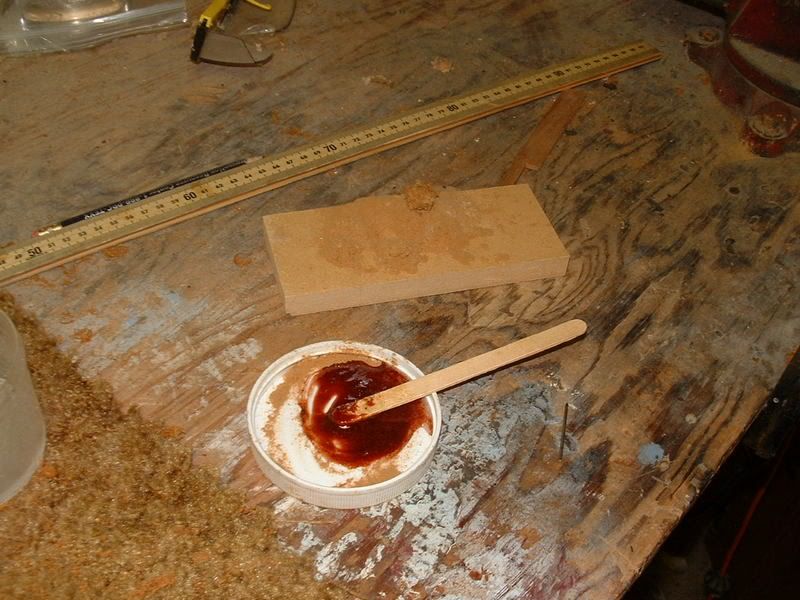
And here she is all filled up. I cleaned the rest of the epoxy up with aceton, leaving the plug thick. It will be smoothed out durng the tillering and finishing.
Now to do a mock run before I glue up to make sure I can get the bend I want. Before I do so, I have to go make some blocks with the amount of reflex I want. So I take some old stock and measuer 2 1/2" and cut it out. This way, I can support the tips and get a 1 3/4" reflex. It will make more sense when you see the pic. the bowwood is already 3/4, so I had to go and extra 1 3/4"so I can get 1 3/4" reflex. I want so much reflexbecause after tillering, im hopeing to keep 1 1/2" of relfex.
Ill show the mock up so you can get an idea of what im doing with these blocks. I place these blocks 70" apart on a straight 2x4. I mark a midline on the 2x4 and place the bow, belly side down. I support the tips on these bocks of wood and clamp the bow down to the 2X4 at midline. I measured in 12" from the tips to put clamps to pull the rest of the limb closer to the 2x4. Here is the mock up.
It looks good, so off to the glue up.
Before glueing up, I want to deal with that hole. To fix this, I can do several things. One being; drill it out and plug it with a wooden plug. Or I can mix up some epoxy and thickener and fill it in. Im going to go with the epoxy trick. I took bow grip 100 (which will work great because im going to bake this bow) and mix in saw dust from the stave that I collected from the belt sander, as well with some small curls from the scraper.
And here she is all filled up. I cleaned the rest of the epoxy up with aceton, leaving the plug thick. It will be smoothed out durng the tillering and finishing.