


My newest hunting bow, And build along.
 07-11-2008, 04:33 PM
#11
Dominant Buck
Thread Starter
Join Date: Feb 2003
Location: land of the Lilliputians, In the state of insanity
Posts: 26,274
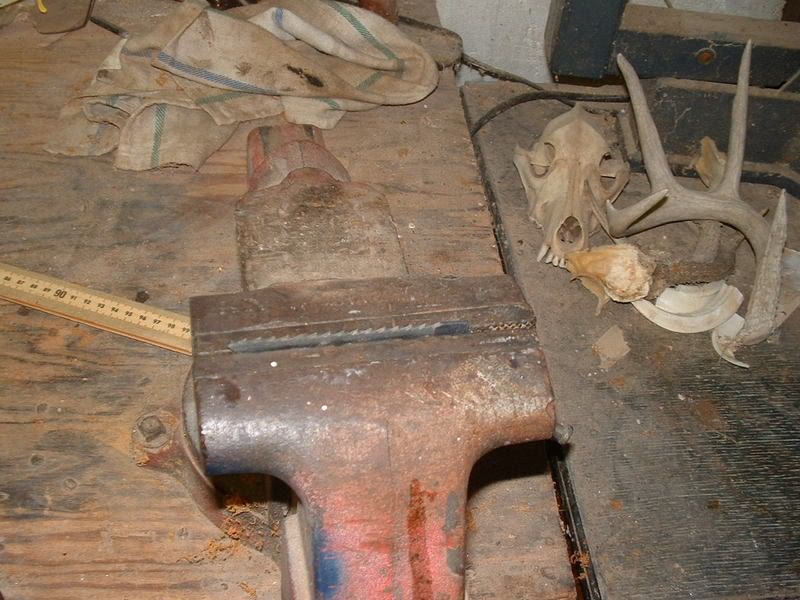
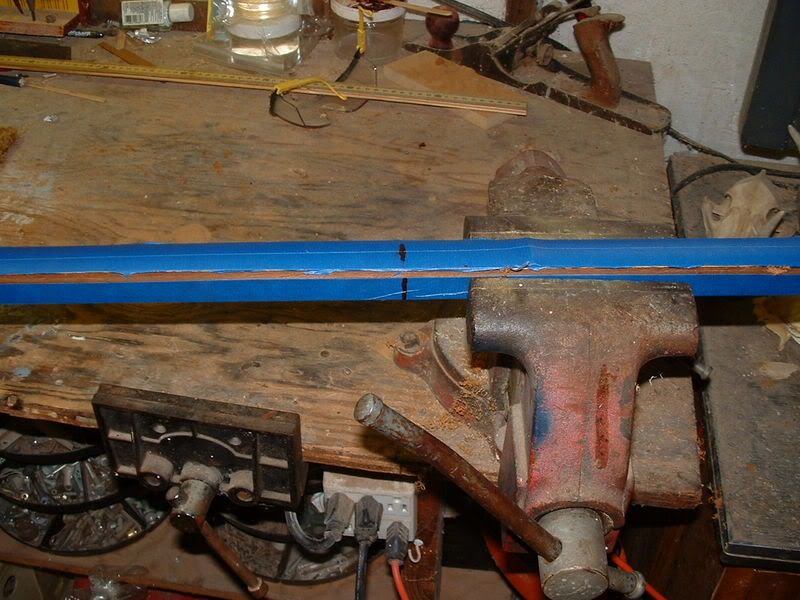
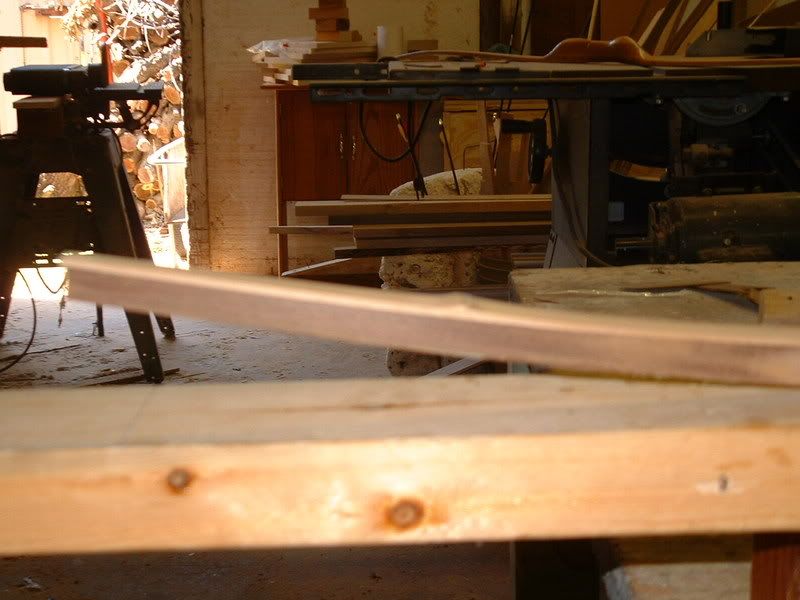
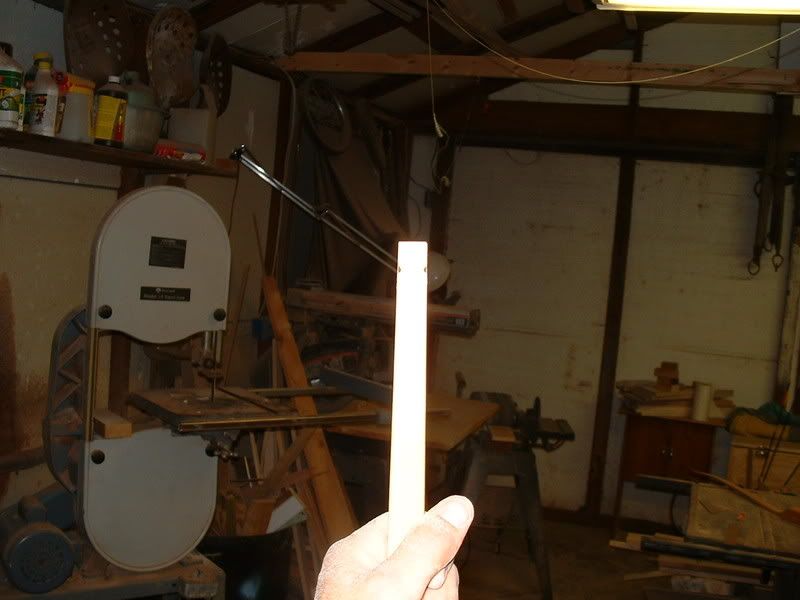
Before glue up, I want to score the back of the bow and the belly of the boo. I do this by clamping a jig saw blade in a vice and running the bow and booover it. When using epoxy, you have to score it. Epoxy is not a penetrating glue. I have had people tell me you can use tite bond on ipe and boo, but I dont trust it. Ipe is a dense oily wood, so I play it safe and use a good, two part epoxy. Im using bow grip 100, which is a great glue. But if you do not bake it, dont use it. It will soften on you if you do not bake it. urac or smooth-on would probably be better if you chose not to bake the bow. And if you look to the right side of this pic, you will see my tip overlays in their natural state.
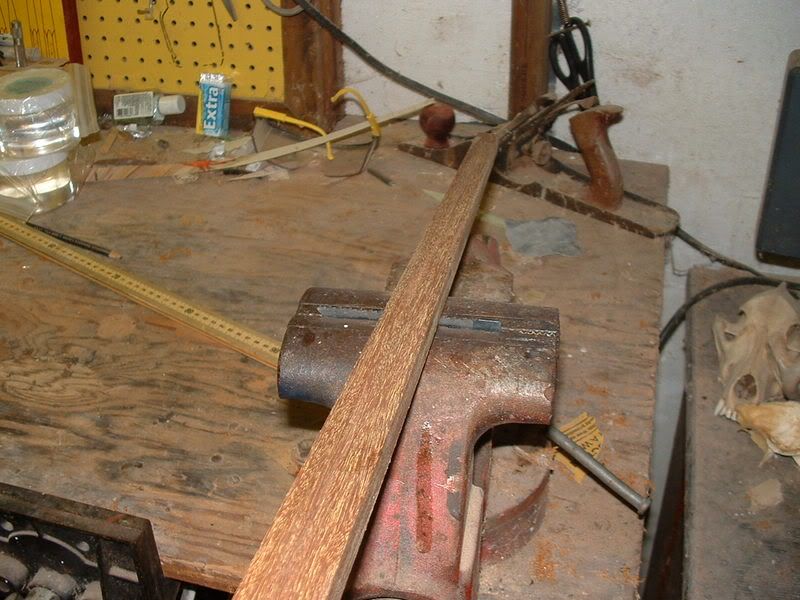
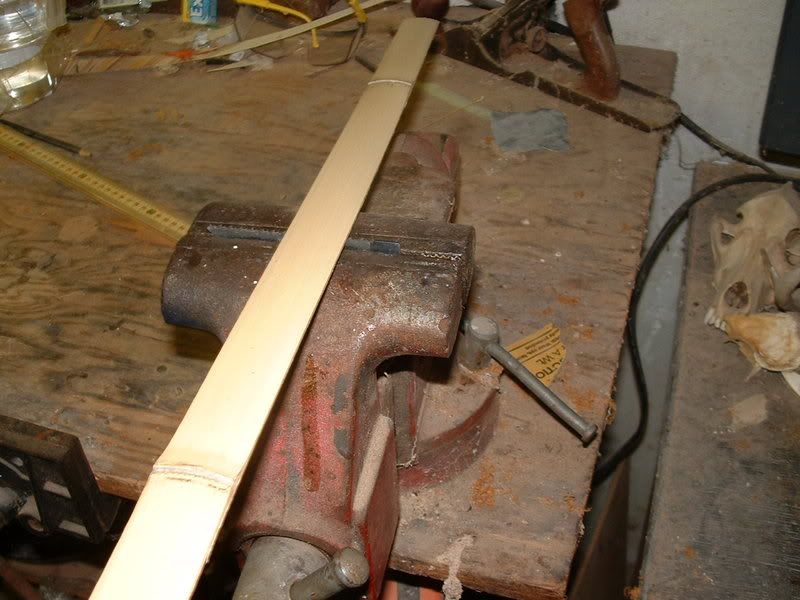
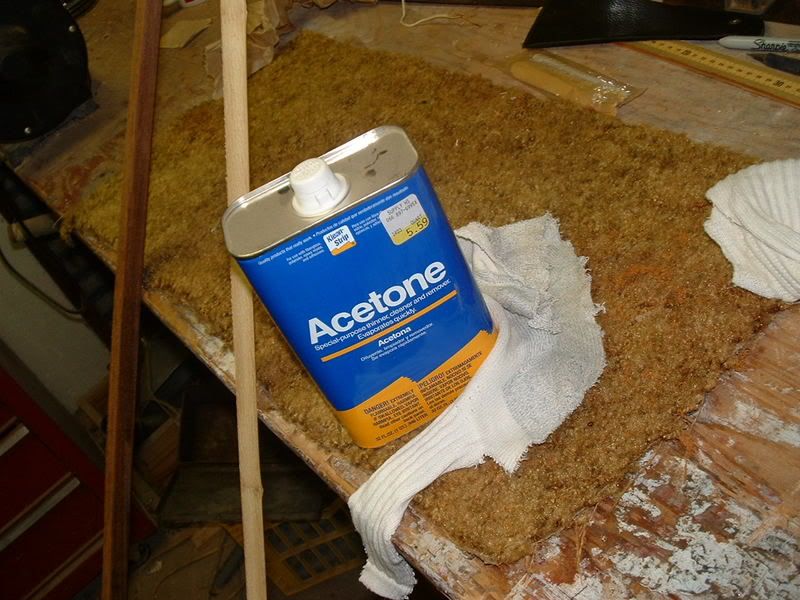
Something else you have to do with oily woods is to clean them with acetone. I do this by just wipeing the back of the bow and belly of the boo with it.
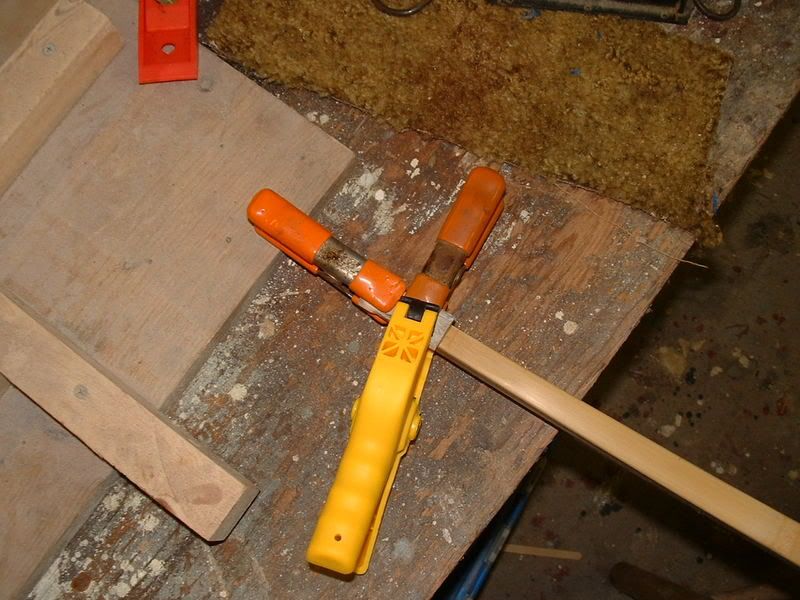
Just before glue up, I tape the bow with painters tape. I usually dont cut out the limb design till after glue up and trim the goop off when I cut out the shape, but since im pushing for a heavy bow, I needed to cut them out early to floor tiller and get the bow so it will bend into its shape. I tape every part of the bow that will not recieve glue. Ive found an ounce of prevention will prevent hours of cussing during clean up. Also, if you notice the red marks on the blue tape, those are my midlines of the boo and bow. That way I can keep them lined up.
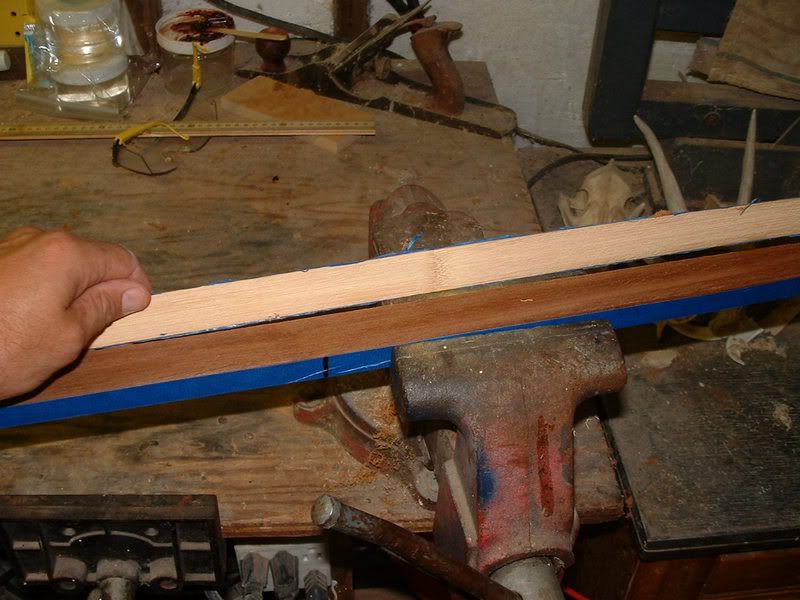
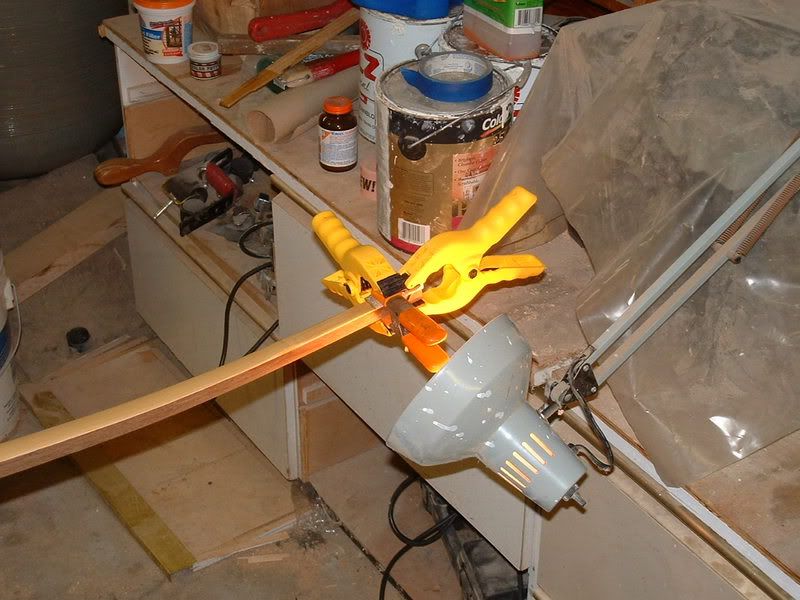
Now, I put bow grip 100 on both the back of the bow and belly of the boo while I have the bow in a vice. I then use a few strips of black electric tape to hold the two in place and wrape the whole thing in saran wrap. This will keep the wood from drying out while in the oven.
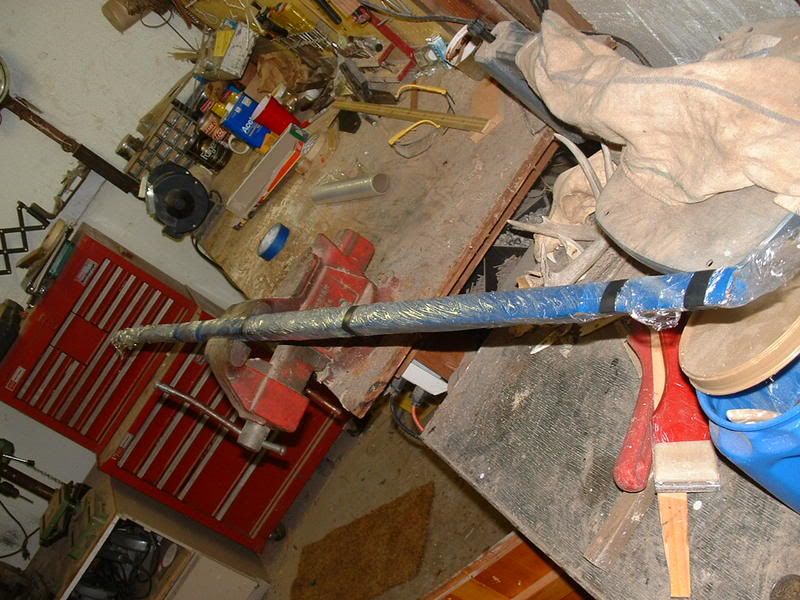
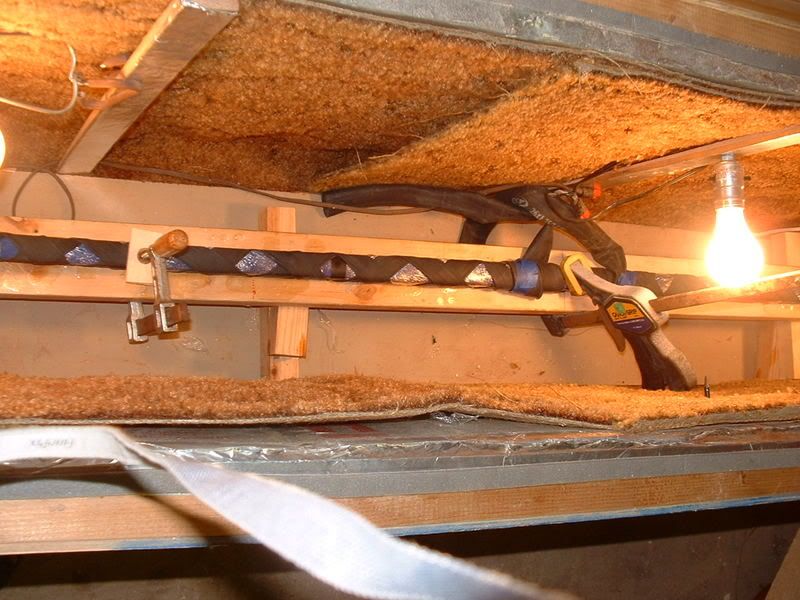
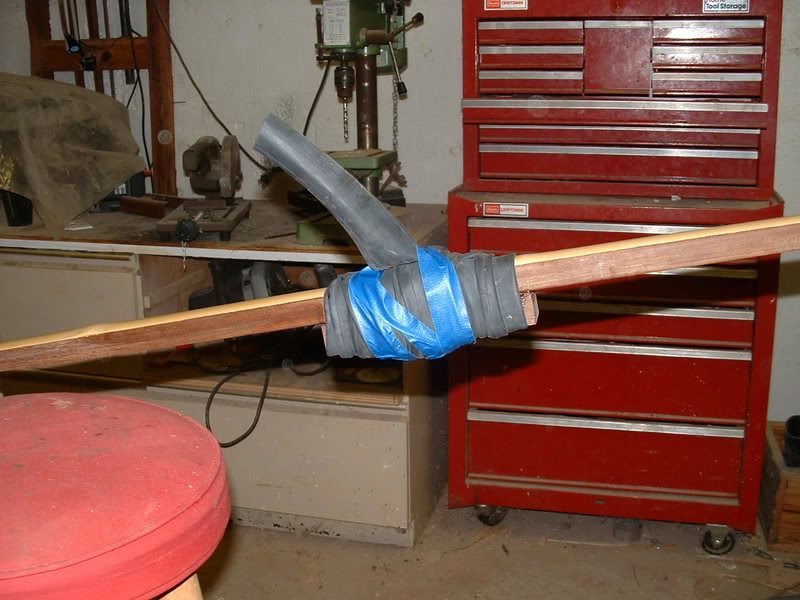
Now for my super special clamping system. I hate dealing with lots of spring clamps or c-clamps, so I use bike inner tubes. I start wraping them around the bow from the grip on out. Inner tubes will give a good even pressure, prevent the wood from slipping, and give great glue lines. I even use them on lam bows with a set form. I just wrape the tube around the bow and the form. Works great.
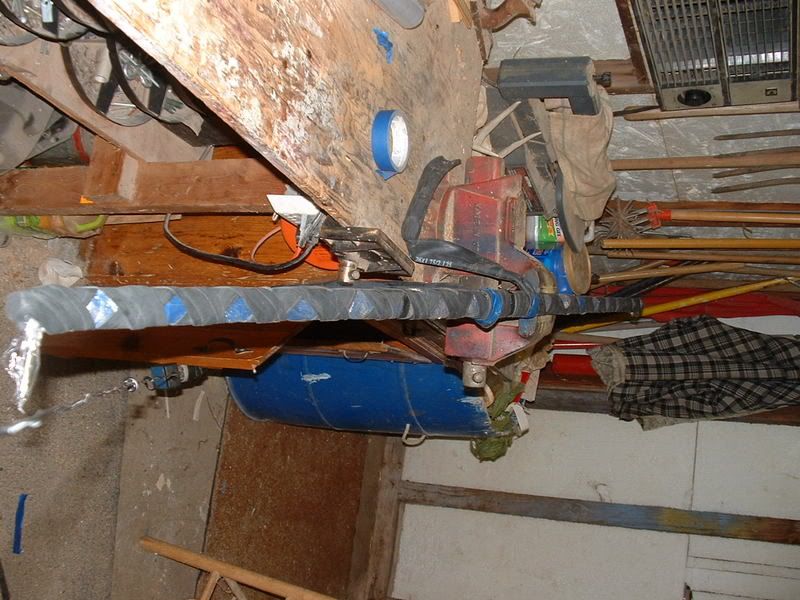
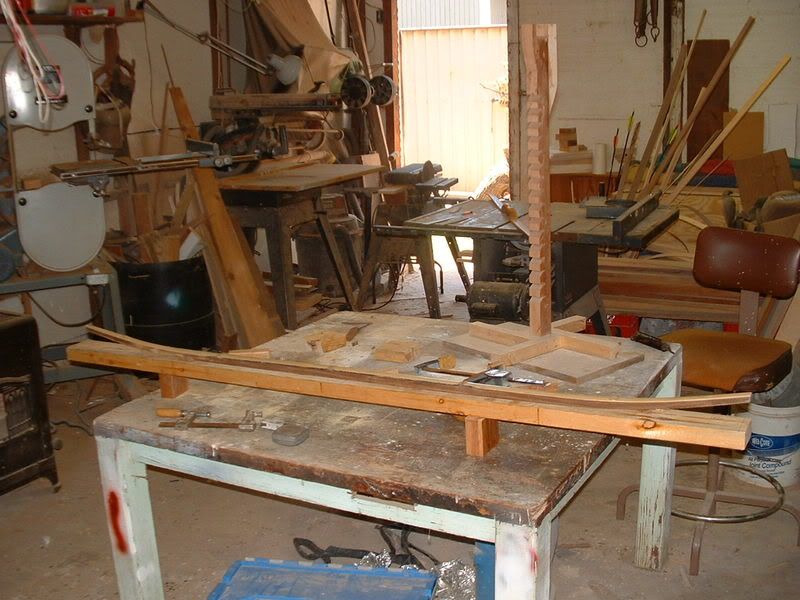
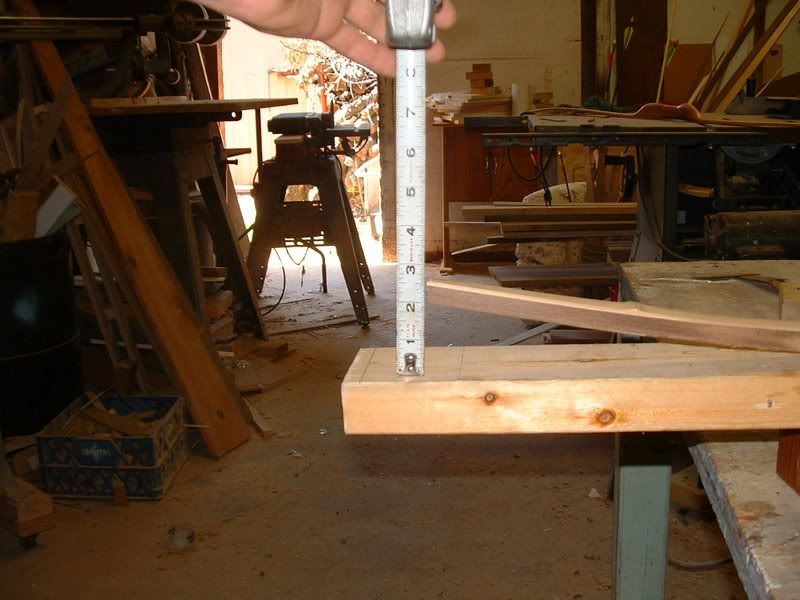
Now that it is all wraped up and snug, its off to my make shift form. I simply take extra care in measureing the amount the clamps travel, the ones12" from thetips, and keep them even. I stoped when I thought it looked good and measured how far the the bow was from the 2X4 just under the clamp and did like wise on the opposite end.
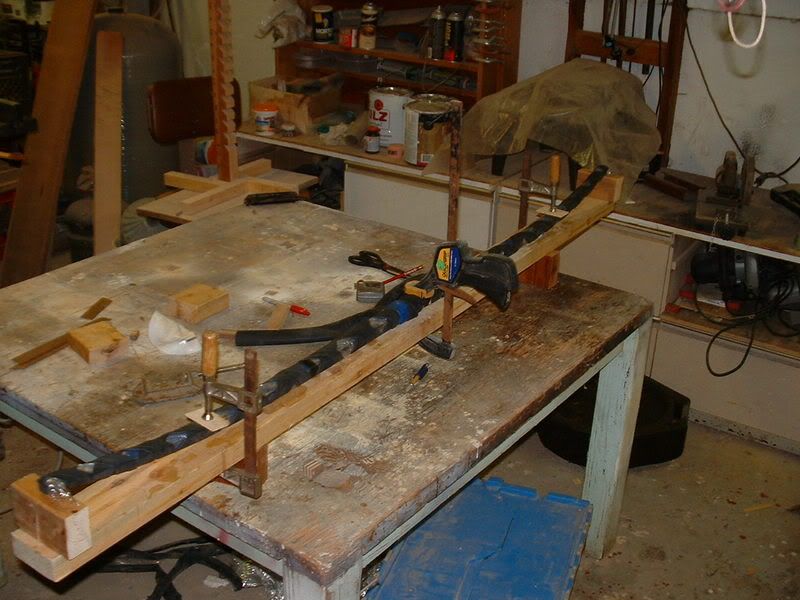
Now to the easy bake oven for about 6-10 hours of cooking at 160-180 degrees,
Something else you have to do with oily woods is to clean them with acetone. I do this by just wipeing the back of the bow and belly of the boo with it.
Just before glue up, I tape the bow with painters tape. I usually dont cut out the limb design till after glue up and trim the goop off when I cut out the shape, but since im pushing for a heavy bow, I needed to cut them out early to floor tiller and get the bow so it will bend into its shape. I tape every part of the bow that will not recieve glue. Ive found an ounce of prevention will prevent hours of cussing during clean up. Also, if you notice the red marks on the blue tape, those are my midlines of the boo and bow. That way I can keep them lined up.
Now, I put bow grip 100 on both the back of the bow and belly of the boo while I have the bow in a vice. I then use a few strips of black electric tape to hold the two in place and wrape the whole thing in saran wrap. This will keep the wood from drying out while in the oven.
Now for my super special clamping system. I hate dealing with lots of spring clamps or c-clamps, so I use bike inner tubes. I start wraping them around the bow from the grip on out. Inner tubes will give a good even pressure, prevent the wood from slipping, and give great glue lines. I even use them on lam bows with a set form. I just wrape the tube around the bow and the form. Works great.
Now that it is all wraped up and snug, its off to my make shift form. I simply take extra care in measureing the amount the clamps travel, the ones12" from thetips, and keep them even. I stoped when I thought it looked good and measured how far the the bow was from the 2X4 just under the clamp and did like wise on the opposite end.
Now to the easy bake oven for about 6-10 hours of cooking at 160-180 degrees,
 07-11-2008, 04:35 PM
#12
Dominant Buck
Thread Starter
Join Date: Feb 2003
Location: land of the Lilliputians, In the state of insanity
Posts: 26,274
Now its miller time. Ill be back to work on it later. Ill wait til Sun. because im going to spend Sat. at the lake wake boarding and playing with the kids.
07-11-2008, 07:36 PM
#14
Join Date: Aug 2006
Location: New Zealand
Posts: 100
I really like your post Burnie and it is one of the most informative ones i have seen. I can't wait to see more of this thread and the finished product. Hope she shoots beautifully for you and i have a feeling its going to look the part. Keep up the great work.
07-12-2008, 11:10 AM
#15
Dominant Buck
Thread Starter
Join Date: Feb 2003
Location: land of the Lilliputians, In the state of insanity
Posts: 26,274
I know I said i was going to wait til Sun. to get back to the bow, but I did some work this morning. I got a call from a friend at the lake and the water was white caping so we will be headed out in a couple of hours. Also, haveing a bow in the oven is like being a kid on Christmas morning. You have to rush out to see if everything worked the way you planned. Here is what I did this last 45 min.
I pulled the bow out of the oven and unwraped, and started pilling off tape. The tape removal is not the funnest thing to do, but believe me, if you dont tape the bow up you will spend all day cleaning up the wood and boo. It took me about 45 min. to pull the tape off and clean up the bow to where its ready for the next step.
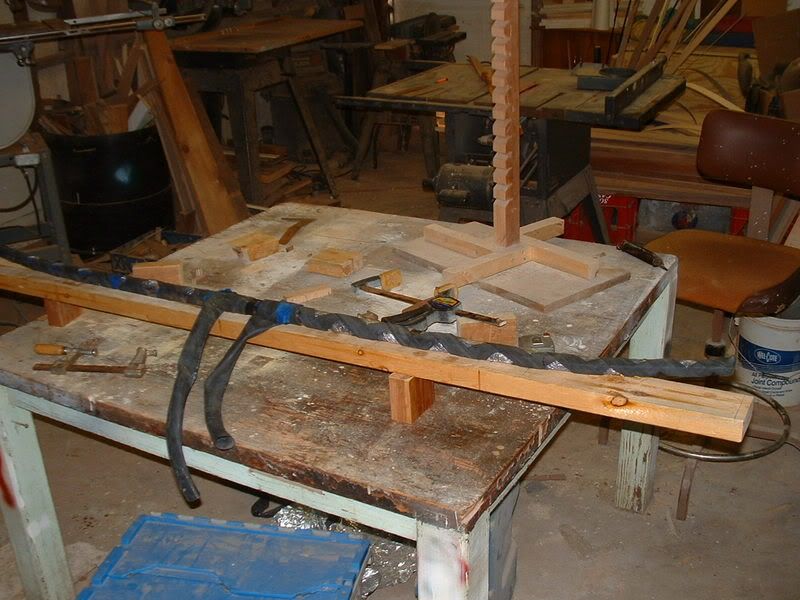
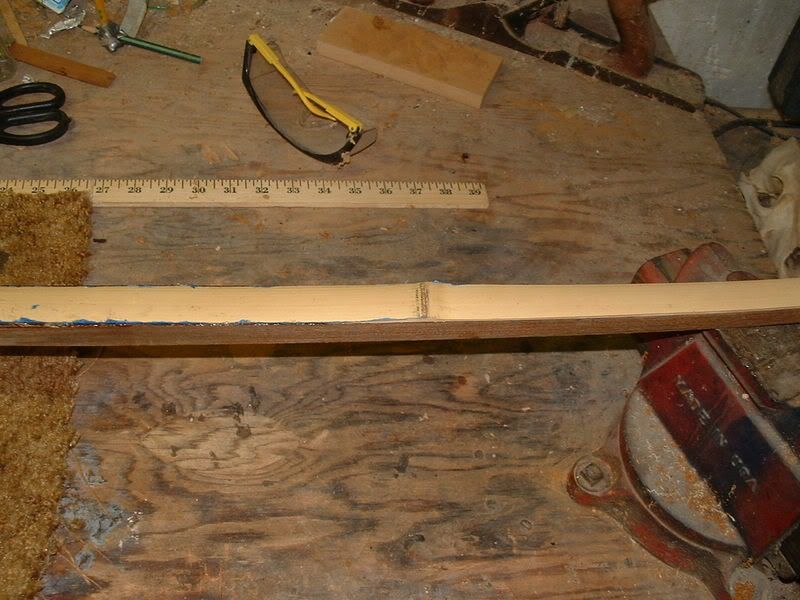
Remember that worm hole I had to fill. Here it is with no sanding or cleaning. I dont think ill have to worry about that hole anymore. Two reasons Im going to forget about it; One, it is in the fade and filled well. Two, If it does experience any force, it will be compression, which the type of filler I made will handle very easily. The whole is on the top side of these pics, towards the right, Just left of my last fadeout line. Doesnt look bad, if I say so myself.
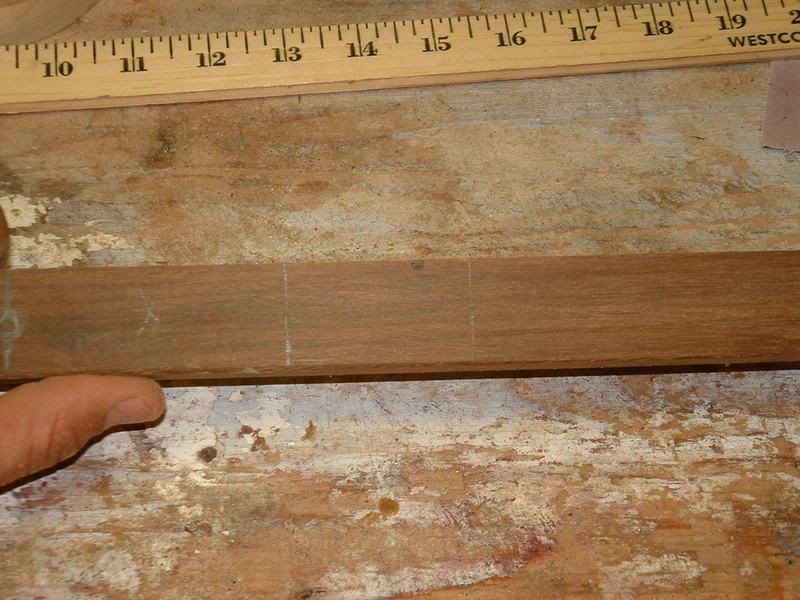
Now for the reflex. I lost just a bit more reflex than I wanted. I ended up with about 1/8" beyond my 1 1/2" goal. Not bad. If im real careful during tillering, I might just end up with the 1 1/2" to 1 1/4". Id be happy with either.
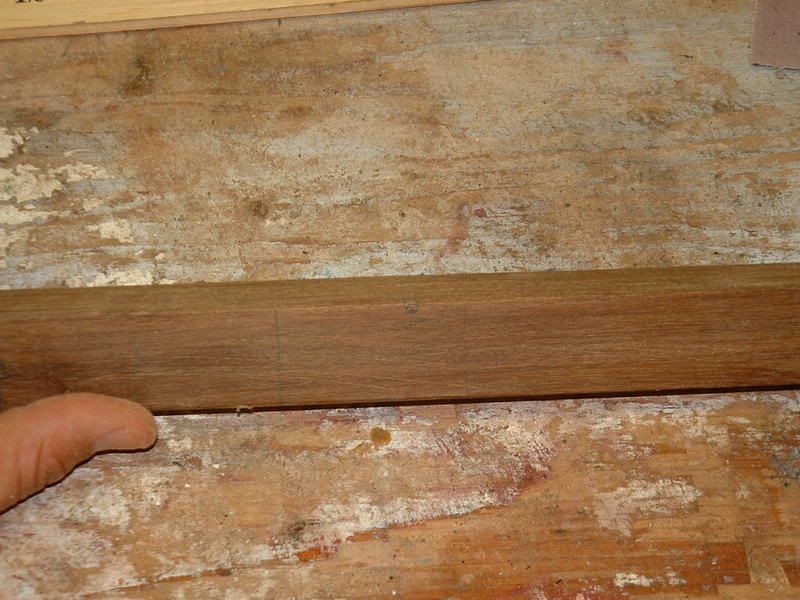
One last thing Id like to show here, its the glue lines. Like I said earlier, inner tubs give me the best, and most even glue lines of any method ive tried. Look close at this glue line, dont she look perty.
Well, heck,the pic I took to show the glue line came out blurry, but if you look at the pic where im showing reflex, you can see it.
Now time to go to the big shop and pick up the boat and head to the lake. Ill be back to work on Mon.. I just got a call from the inlaws and they want to keep the kids all next week, so Sun. the wife and I are going to go paint the town.
I pulled the bow out of the oven and unwraped, and started pilling off tape. The tape removal is not the funnest thing to do, but believe me, if you dont tape the bow up you will spend all day cleaning up the wood and boo. It took me about 45 min. to pull the tape off and clean up the bow to where its ready for the next step.
Remember that worm hole I had to fill. Here it is with no sanding or cleaning. I dont think ill have to worry about that hole anymore. Two reasons Im going to forget about it; One, it is in the fade and filled well. Two, If it does experience any force, it will be compression, which the type of filler I made will handle very easily. The whole is on the top side of these pics, towards the right, Just left of my last fadeout line. Doesnt look bad, if I say so myself.
Now for the reflex. I lost just a bit more reflex than I wanted. I ended up with about 1/8" beyond my 1 1/2" goal. Not bad. If im real careful during tillering, I might just end up with the 1 1/2" to 1 1/4". Id be happy with either.
One last thing Id like to show here, its the glue lines. Like I said earlier, inner tubs give me the best, and most even glue lines of any method ive tried. Look close at this glue line, dont she look perty.
Well, heck,the pic I took to show the glue line came out blurry, but if you look at the pic where im showing reflex, you can see it.
Now time to go to the big shop and pick up the boat and head to the lake. Ill be back to work on Mon.. I just got a call from the inlaws and they want to keep the kids all next week, so Sun. the wife and I are going to go paint the town.
07-13-2008, 11:10 PM
#19
Dominant Buck
Thread Starter
Join Date: Feb 2003
Location: land of the Lilliputians, In the state of insanity
Posts: 26,274
All right boys and girls, Im back for another round. I didnt kill myself at the lake and the wife and I got in early tonight, so I went out and did a little more work.
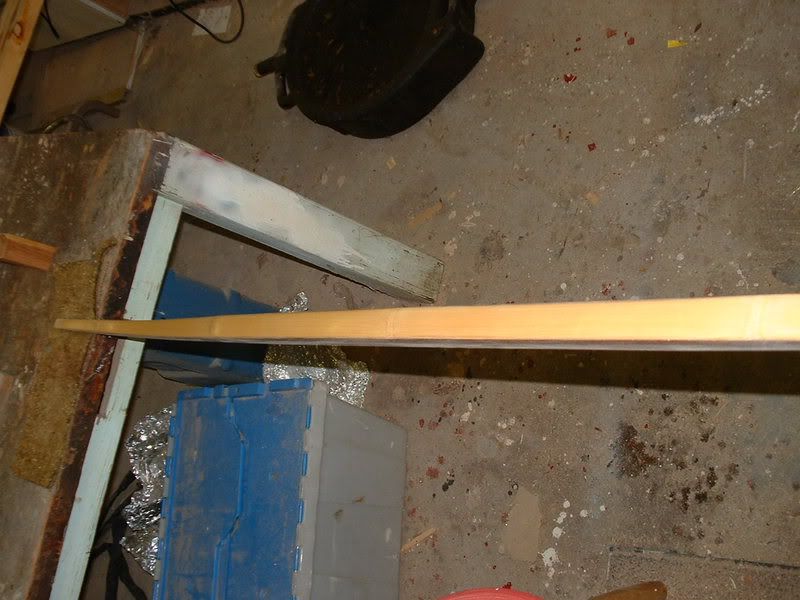
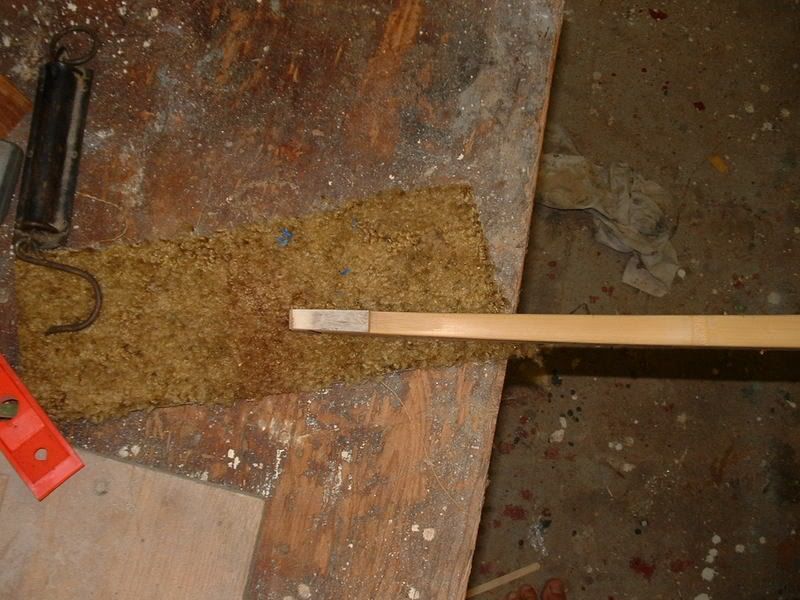
What we got going on now is to clean up the boo. Bamboo has a rind on it and needs to be removed. Ill do this with 80 grit sand paper. I will sand it until it appears glossy and an even amber color. Ill also go over it real good with 100, 110, 220, 400, 600, and 1000 grit. Im doing this to insure I dont pull up any splinters when I start tillering.
Here she is before the sanding.
And after.
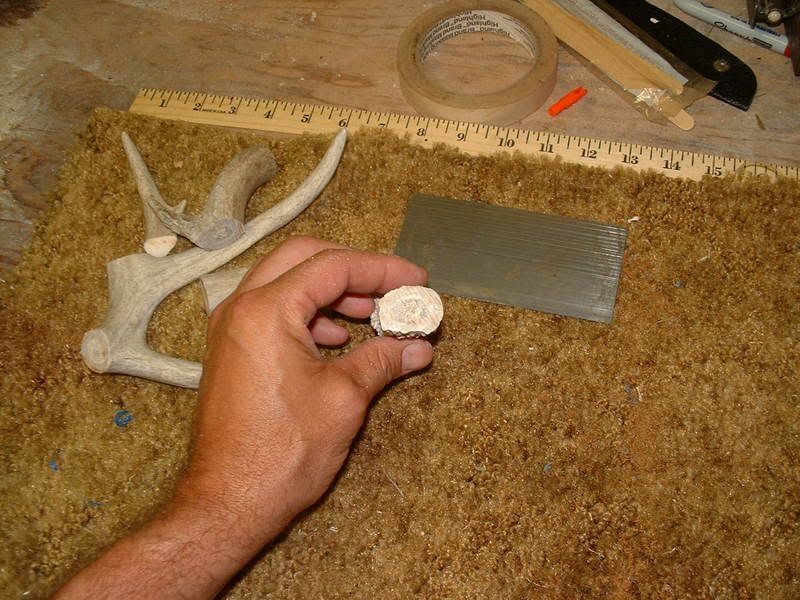
Now time to prepare the tip overlays. Im going to make the tip over lays out of whitetail deer antler. This is an old antler from a deer I shot years ago.

Ill cut the base off and split it to get my two overlays.
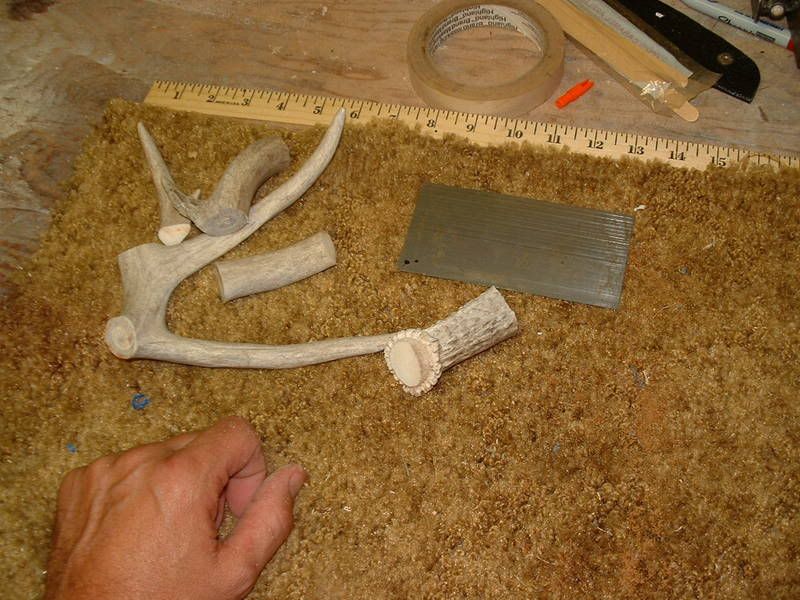
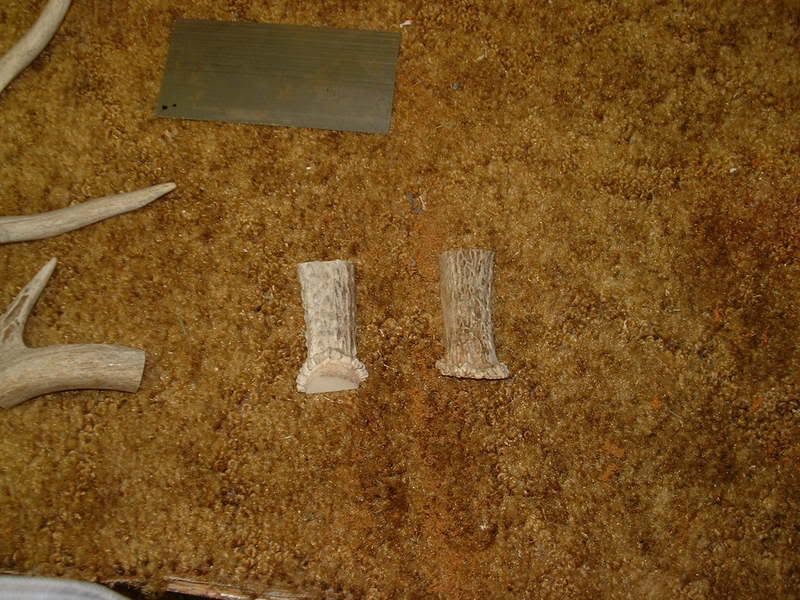
Now a little something about anlters, which im sure most already know. they are not horns, but bones. And like all bones, there is cancellous(spongy) and hard bone. I want to use the hard bone. In the pic you can see thecancellous bone lineing and filling the medullar cavity (middle of antler).
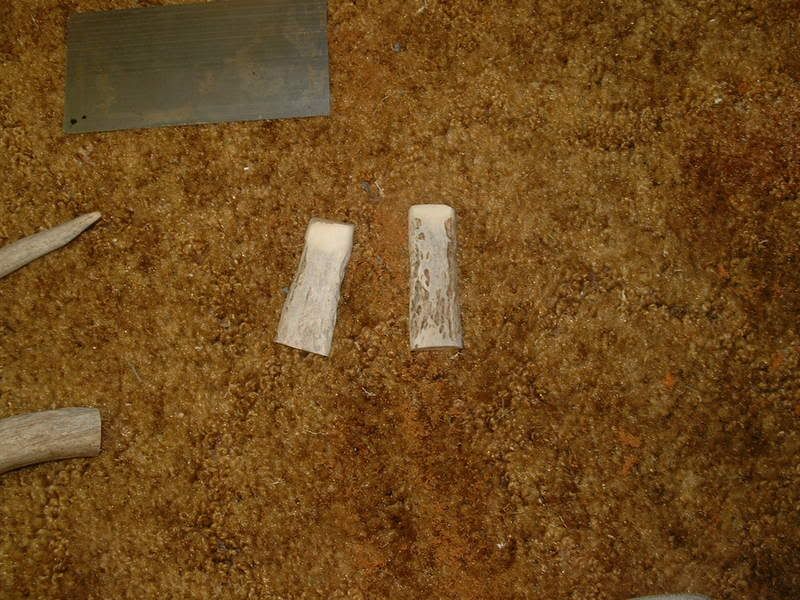
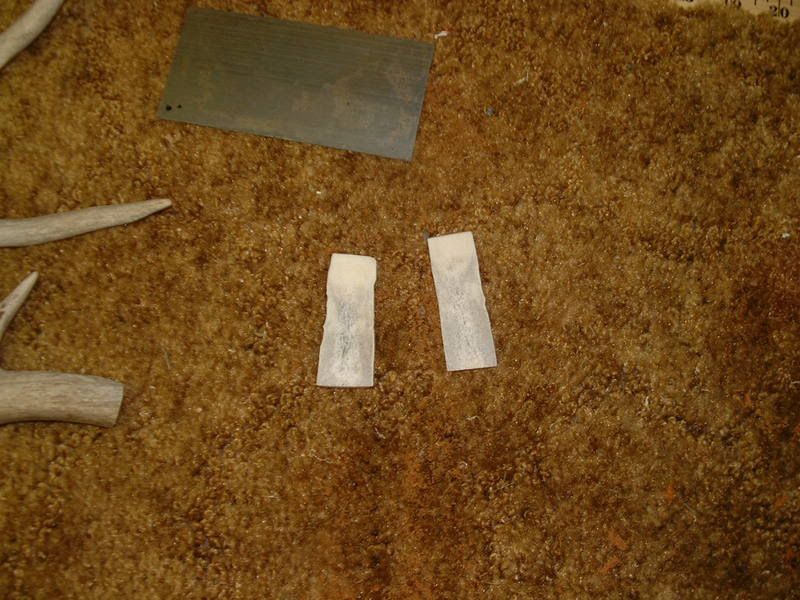
Im going to split the antler with my bandsaw and use my belt sander to grind down the two pieces until ive gotten rid of most all of the cancellous bone. Also, I want to thin them. I dont want a heavy tip. The lighter your tips, the less hand shock you will feell when shooting.
Here they are split and ground. I cleaned up the outsid just a bit. Not much. I will finish the rest when its on the bow.
For tonight, im going to put on a handle block and the tip overlays, but before I do, ive got to sand the bamboo on the tips flat. I simply do that with a block of wood and some 60 grit sandpaper.
I wanted to use another piece of ipe for the handle, but I have not got a piece big enough. Isnt that sad when you cant even find a 6" piece of ipe laying around the shop. I had thought about using curly maple, but it just didnt look right, so ive decided to use a piece of black walnut. It will be interesting to see how it comes out.
I prepared the tips and handle section just like I did the back. I scored it, cleaned it, and mixed up the bow grip 100. Here is the tips and grip clamped on. I just have to make sure to be real careful not to get epoxy on the bow. Any spot that had some on it, I cleaned up with aceton right away.
Since I have already baked the bow and cured the epoxy holding on the backing, I dont want to put it back in the oven and dry out the wood. So to cure the epoxy on the tips and handle I use a very scientific anddifficult procedure.
and for the handle.
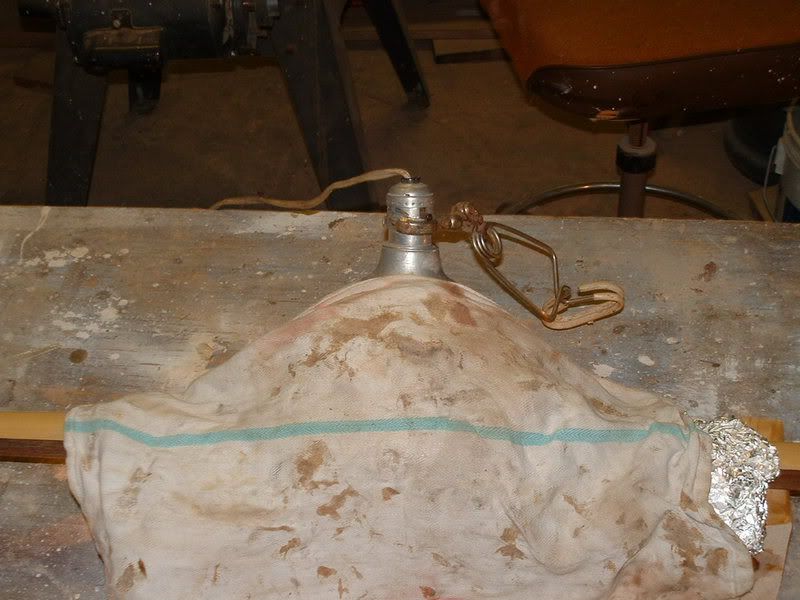
Yep, those are simply lights with 65 watt light bulbs in them. I covered the lights and tips/handle with foil and a towle. Ill check them for about an hour or two to make sure they do not over heat and that nothing can catch fire.
Tomorry Ill clean up the tips a bit and start the tillering. I think this bow will take some time to tiller. I leftthe limbsthick, which will take some time to wittle down. Thats all right, its better to be too thick than too thin. Just like I like my women.
In the morning ive got to go run a trout line and try to get some fish for a campout this next weekend, and while im waiting for the fish to catch themselves, Ill come back and work on the bow a bit. Yea, I know, Its hard haveing such pressing issues to take care of, but I think I can do it.
What we got going on now is to clean up the boo. Bamboo has a rind on it and needs to be removed. Ill do this with 80 grit sand paper. I will sand it until it appears glossy and an even amber color. Ill also go over it real good with 100, 110, 220, 400, 600, and 1000 grit. Im doing this to insure I dont pull up any splinters when I start tillering.
Here she is before the sanding.
And after.
Now time to prepare the tip overlays. Im going to make the tip over lays out of whitetail deer antler. This is an old antler from a deer I shot years ago.
Ill cut the base off and split it to get my two overlays.
Now a little something about anlters, which im sure most already know. they are not horns, but bones. And like all bones, there is cancellous(spongy) and hard bone. I want to use the hard bone. In the pic you can see thecancellous bone lineing and filling the medullar cavity (middle of antler).
Im going to split the antler with my bandsaw and use my belt sander to grind down the two pieces until ive gotten rid of most all of the cancellous bone. Also, I want to thin them. I dont want a heavy tip. The lighter your tips, the less hand shock you will feell when shooting.
Here they are split and ground. I cleaned up the outsid just a bit. Not much. I will finish the rest when its on the bow.
For tonight, im going to put on a handle block and the tip overlays, but before I do, ive got to sand the bamboo on the tips flat. I simply do that with a block of wood and some 60 grit sandpaper.
I wanted to use another piece of ipe for the handle, but I have not got a piece big enough. Isnt that sad when you cant even find a 6" piece of ipe laying around the shop. I had thought about using curly maple, but it just didnt look right, so ive decided to use a piece of black walnut. It will be interesting to see how it comes out.
I prepared the tips and handle section just like I did the back. I scored it, cleaned it, and mixed up the bow grip 100. Here is the tips and grip clamped on. I just have to make sure to be real careful not to get epoxy on the bow. Any spot that had some on it, I cleaned up with aceton right away.
Since I have already baked the bow and cured the epoxy holding on the backing, I dont want to put it back in the oven and dry out the wood. So to cure the epoxy on the tips and handle I use a very scientific anddifficult procedure.
and for the handle.
Yep, those are simply lights with 65 watt light bulbs in them. I covered the lights and tips/handle with foil and a towle. Ill check them for about an hour or two to make sure they do not over heat and that nothing can catch fire.
Tomorry Ill clean up the tips a bit and start the tillering. I think this bow will take some time to tiller. I leftthe limbsthick, which will take some time to wittle down. Thats all right, its better to be too thick than too thin. Just like I like my women.
In the morning ive got to go run a trout line and try to get some fish for a campout this next weekend, and while im waiting for the fish to catch themselves, Ill come back and work on the bow a bit. Yea, I know, Its hard haveing such pressing issues to take care of, but I think I can do it.
07-14-2008, 02:49 PM
#20
Dominant Buck
Thread Starter
Join Date: Feb 2003
Location: land of the Lilliputians, In the state of insanity
Posts: 26,274
Trout lines are set, so back to the bow.
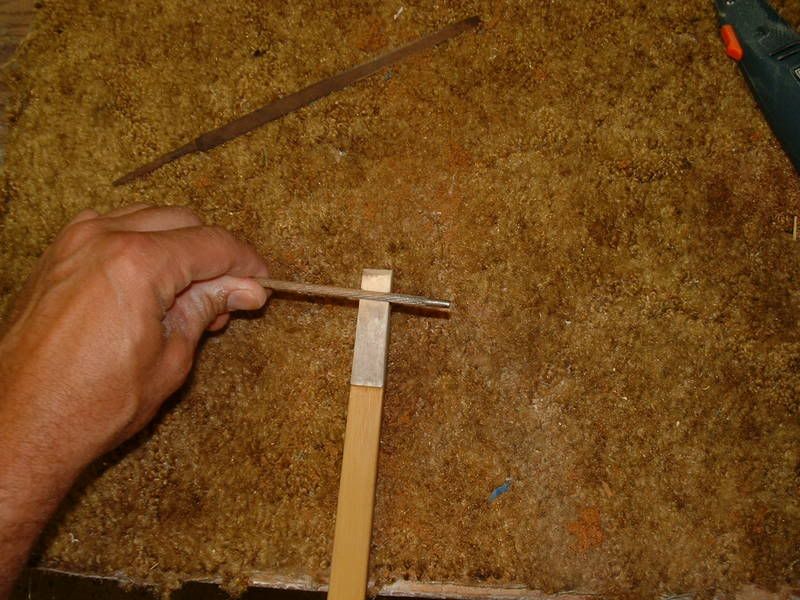
Now that the tips and handle have baked and cured, its time to clean them up and cut some nocks.
Cleaned up tips.
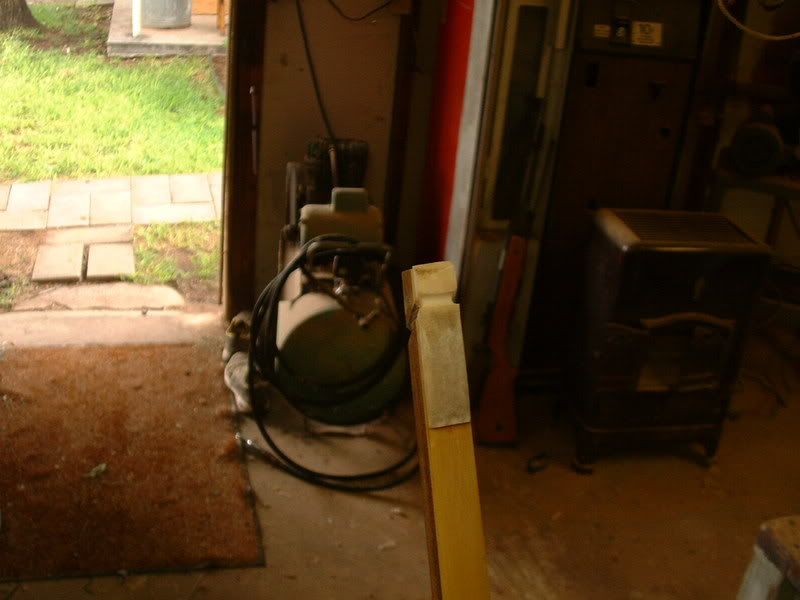
Unwraped handle. I wont mess with the handle until im done tillering.
Cutting the sting groves in the tips, I start by measuring in on each limb 1/2"on theback side in and 3/4" in on belly side and make a mark on the edge of the limbs. I then connect those two dots with a triangled file and make a shallow groove. I then come back with a chainsaw file and make those grooves deeper. Not real deep, just enough to hold a string. I want to save room for reducing the tips later.
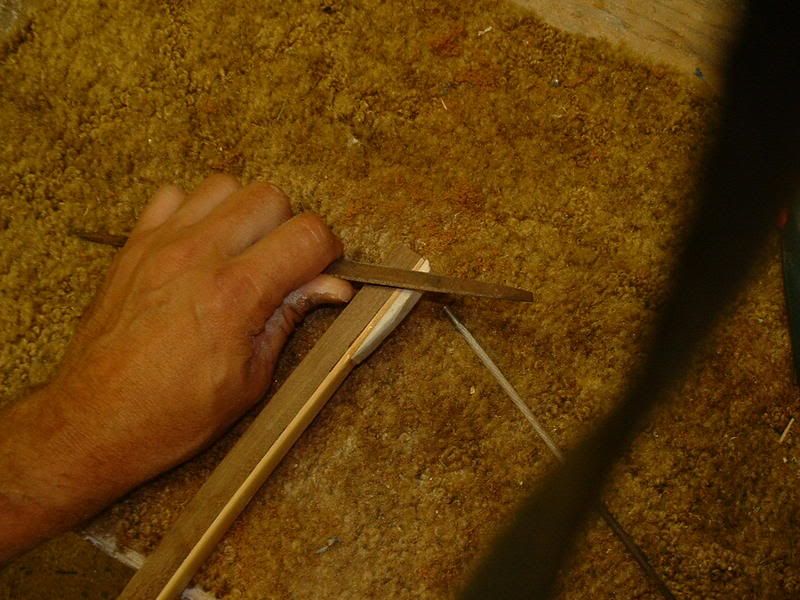
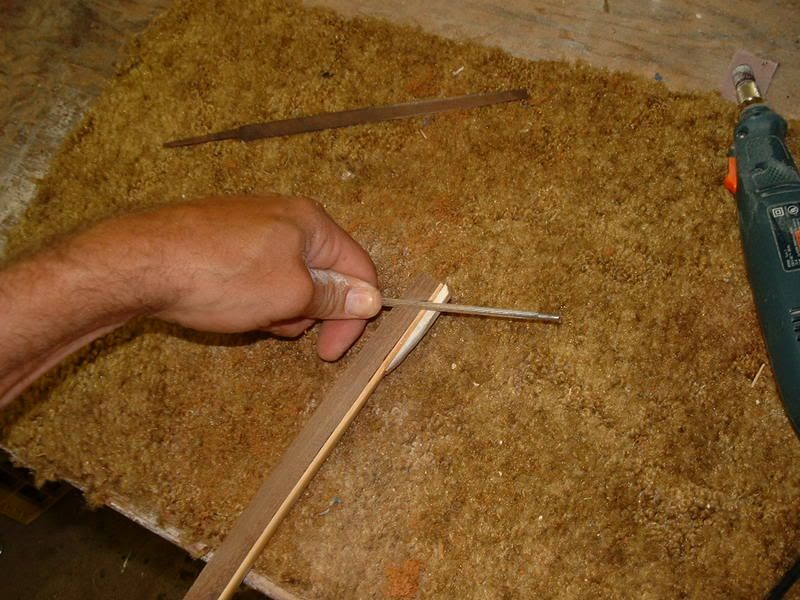
I will now connect the two back side grooves with a chainsaw file and cut a shallow groove.
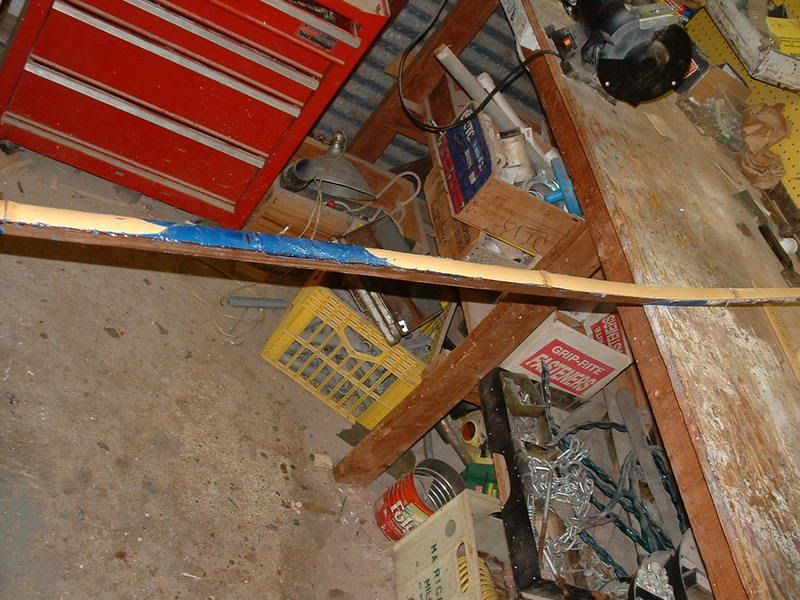
Now that all the easy stuff is done, its time for the hard part, the tillering. Im going to longstring tiller this bow instead of floor tillering. I floor tillered the stave to get it to where I could bend it into a reflexed shape, but now that it has about 1.5" of relfex and bamboo, it is very stiff.
I place the bow on the tiller tree with a long string and see how she feels.
Here she is flexed at 1.5"
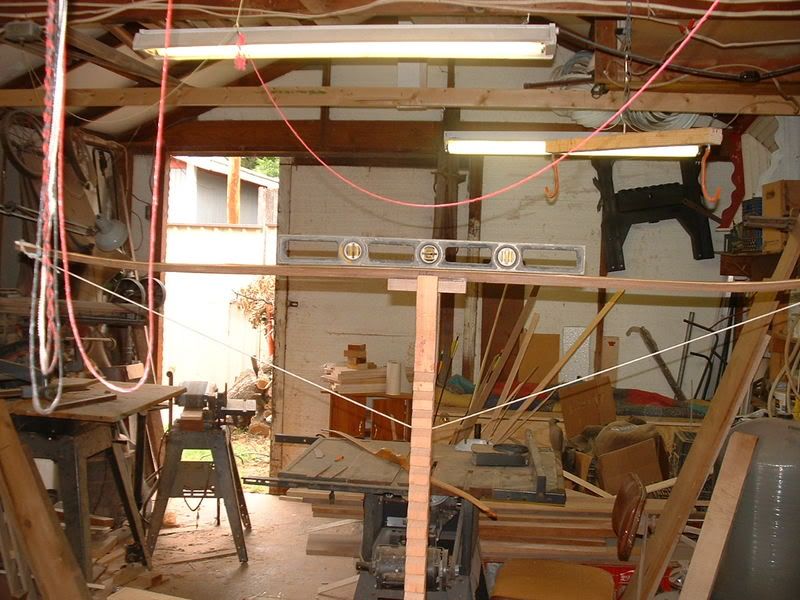
Man, oh man, is she stiff. Iwill need to do lots of work to get her bending enough to brace her. This will take some time, so yall just set back and relax a while and ill return once she gets to bending a bit.
Now that the tips and handle have baked and cured, its time to clean them up and cut some nocks.
Cleaned up tips.
Unwraped handle. I wont mess with the handle until im done tillering.
Cutting the sting groves in the tips, I start by measuring in on each limb 1/2"on theback side in and 3/4" in on belly side and make a mark on the edge of the limbs. I then connect those two dots with a triangled file and make a shallow groove. I then come back with a chainsaw file and make those grooves deeper. Not real deep, just enough to hold a string. I want to save room for reducing the tips later.
I will now connect the two back side grooves with a chainsaw file and cut a shallow groove.
Now that all the easy stuff is done, its time for the hard part, the tillering. Im going to longstring tiller this bow instead of floor tillering. I floor tillered the stave to get it to where I could bend it into a reflexed shape, but now that it has about 1.5" of relfex and bamboo, it is very stiff.
I place the bow on the tiller tree with a long string and see how she feels.
Here she is flexed at 1.5"
Man, oh man, is she stiff. Iwill need to do lots of work to get her bending enough to brace her. This will take some time, so yall just set back and relax a while and ill return once she gets to bending a bit.